Pinterest Version

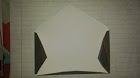
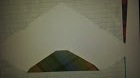
Envelope #1: I used this envelope as my template
Step 1: I slowly peeled each side of the envelope open to use as my stencil
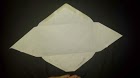
Step 2 and 3: I traced around the stencil on the back of a piece of scrapbook paper and then cut it out. However, I did find after a few that it helps to draw a line where you want to make the fold before you cut it out.
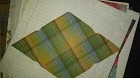
Step 4: The first fold to make is the bottom middle. I did find that folding outward and then inward makes it easier to glue together

Step 5: Fold each side in. Like the first fold it helps to fold both ways (in and out).
Step 6: Glue the side folds underneath the bottom fold. I used a glue stick so I wouldn’t have a mess or bubbles. I did find it was easier to trace the end so I knew how far out the glue could go.
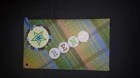
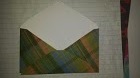
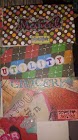
Step 7 and 8: I folded the top flap (that would normally be licked and glued) and tucked it in. That way no white was showing on either side. On the front I decorated with scrapbook stickers. I did one hole punch because I will be putting them on a single ring. You could also put holes down the side and sew them together with thread.
Final product: As I made each new envelope I lined them up to punch the hole in each one at the same spot.
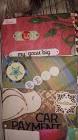
Final #2: The reason I opted to use a binder ring is so I could separate the envelopes as needed. For instance, it’s unlikely that I will need to take my rent envelope with me anywhere. However, When I run to get groceries I can take that envelope off the ring and slip it into my purse
Jan 1, 2014
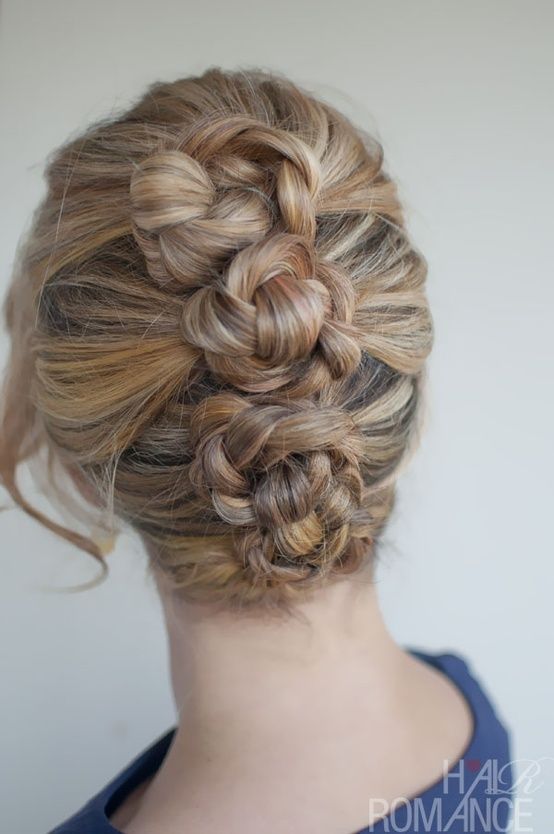
My first pinterest pin for my blog is “Kelleigh Ratzlaff Designs” pin on created envelopes for “Dave Ramsey’s Envelope System”. I have been a big fan of Dave Ramsey for a long long time. I have tried the envelope system for budgeting, and even on vacation. It has always worked really good for me.
If you aren’t familiar with this system, it was created by Dave Ramsey. The point of the system is to keep you on track with your budgeting. Cash is the best way to stay on budget. Credit cards are the devil. 😉 It’s so easy to get in financial trouble. It’s so much harder to spend cash when you see it dwindling. If you see that you are on your last $20 dollars in your entertainment section you are going to think a little harder about whether that 3D movie is worth paying extra for. It is also funner to have a spa day when you know for sure you have enough money for food. Either way it gives you freedom like you’ve never had before.
Seeing as I love this so much and it is the first day of a new year I thought this would be the best pin to start with. I would love to see your own version of the envelope system